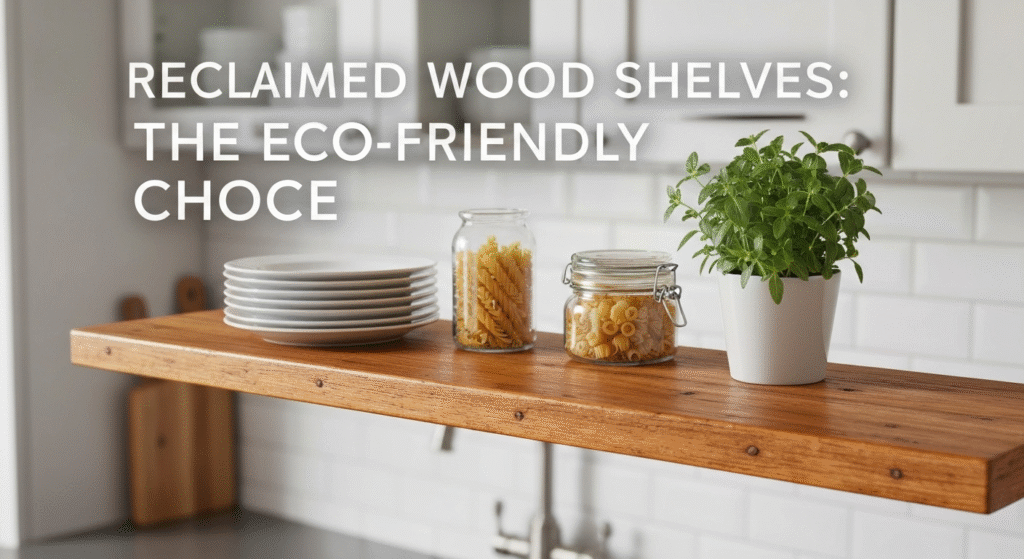
Reclaimed wood shelves offer more than just a place to store your mugs and plates; they bring a story, character, and a touch of sustainable warmth into the heart of your home. Using reclaimed wood is a fantastic way to create an eco-friendly kitchen that feels both rustic and modern. But installing these beautiful pieces of history involves more than just picking a pretty plank. You need to understand how the wood behaves, how to protect it, and where it comes from.
This guide will walk you through everything. We’ll cover the science behind how this wood interacts with a kitchen’s environment, the best ways to seal it against moisture, and the ethics of sourcing it correctly. Let’s break down how to choose, prepare, and install reclaimed wood shelves that are not only beautiful but also practical and long-lasting.
For the past five years, my work has centered on helping people find smart and beautiful kitchen storage solutions. My name is Edom Clark, and during this time, I’ve developed a deep appreciation for materials that are both functional and sustainable. Reclaimed wood is a personal favorite because it challenges you to think about its past life and how to best preserve it for the future. I’ve seen what works and what doesn’t in a real kitchen setting, from wood that warps in high humidity to finishes that fail under daily use. This experience has taught me the practical steps needed to make reclaimed wood a successful and stress-free part of any kitchen design.
What Makes Reclaimed Wood a Special Choice for Kitchens?
When you choose reclaimed wood, you’re not just getting a shelf; you’re getting a piece of history. This wood is salvaged from old structures like barns, factories, and warehouses, meaning it has a story to tell.
The Unique Character and Story of Old Wood
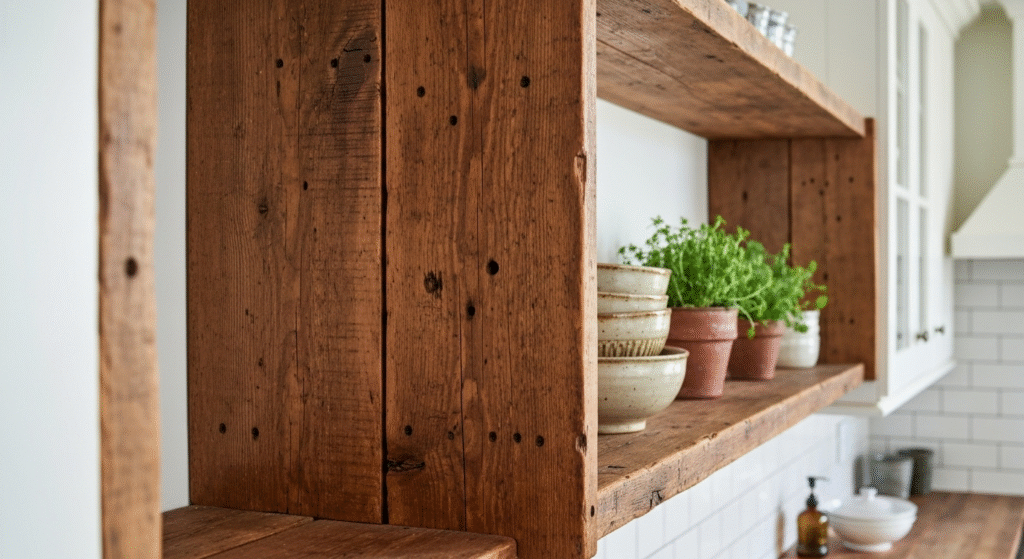
Unlike new lumber from a big-box store, reclaimed wood has a distinct personality. Each plank comes with its own set of imperfections that add to its charm. You might find:
- Nail Holes: Small, dark marks where nails once held the structure together.
- Saw Marks: Textural lines left from milling practices of a bygone era.
- Rich Patina: A deep, warm coloring that only develops after decades of exposure to the elements.
These features mean that no two shelves are exactly alike. In my experience, this uniqueness is what draws people to reclaimed wood. It creates a focal point in the kitchen that feels authentic and lived-in, not mass-produced. It’s a way to add soul to a space that is often purely functional.
The Eco-Friendly Advantage for a Sustainable Home
Choosing reclaimed wood is one of the most environmentally responsible decisions you can make in a kitchen renovation. By reusing old timber, you directly contribute to a healthier planet in several ways. You help reduce the demand for new logging, which preserves forests and wildlife habitats. It also keeps valuable materials out of landfills, where they would otherwise rot and release carbon. This process, known as upcycling, gives old wood a new purpose, extending its life for generations to come.
Sourcing Matters: Finding Authentic and Ethical Reclaimed Wood
The story behind your wood is just as important as its appearance. Knowing where your shelves came from ensures you’re making a genuinely sustainable choice and getting a quality product.
Common Sources of Reclaimed Timber
Authentic reclaimed wood comes from a variety of old structures. Some of the most common sources include:
- Old Barns: Often yield woods like oak, pine, and hemlock with a classic weathered look.
- Industrial Warehouses: A source for sturdy beams and planks, sometimes with unique stains or markings from their industrial past.
- Decommissioned Factories: Can provide large, old-growth timbers that are incredibly dense and durable.
- Submerged Logs: Wood recovered from rivers and lakes, where it has been preserved underwater for decades, often has a unique mineral-rich coloring.
Red Flags to Watch For When Buying
Unfortunately, not all wood marketed as “reclaimed” is the real deal. Some sellers may distress new wood to make it look old. Here’s what I’ve learned to look for to spot fakes and ensure ethical sourcing:
- Repetitive Patterns: True reclaimed wood is irregular. If the “distress” marks look uniform and evenly spaced, it’s likely fake.
- Vague Origins: A reputable seller should be able to tell you the general history of the wood—what kind of building it came from and its approximate age. If they are evasive, be cautious.
- Lack of Nail Holes: Old wood used in construction will almost always have signs of its former life, including nail holes and joinery marks.
- Unusually Low Price: Sourcing and processing real reclaimed wood is labor-intensive. If a price seems too good to be true, it probably is.
Always buy from a trusted supplier who is transparent about their sourcing process. This ensures your shelves are both beautiful and genuinely eco-friendly.
The Practical Side: Handling Humidity and Heat in the Kitchen
A kitchen is a tough environment for any wood. Fluctuations in temperature from cooking and moisture from sinks and boiling pots can cause wood to warp, crack, or swell. Reclaimed wood, being decades or even a century old, needs special attention.
How Old Wood Reacts to Kitchen Environments
Wood is a porous material, meaning it absorbs and releases moisture from the air. This process causes it to expand and contract. Here’s the thing: reclaimed wood has had decades to dry out, making it more stable than new wood. However, it’s not immune to the effects of a humid kitchen. A sudden increase in moisture—like from a boiling pot of pasta directly underneath an unsealed shelf—can cause it to swell unevenly and warp. The key is to acclimate the wood to your home for a week or two before installation and, most importantly, to seal it properly.
A Real-World Example: Solving a Warping Wood Dilemma
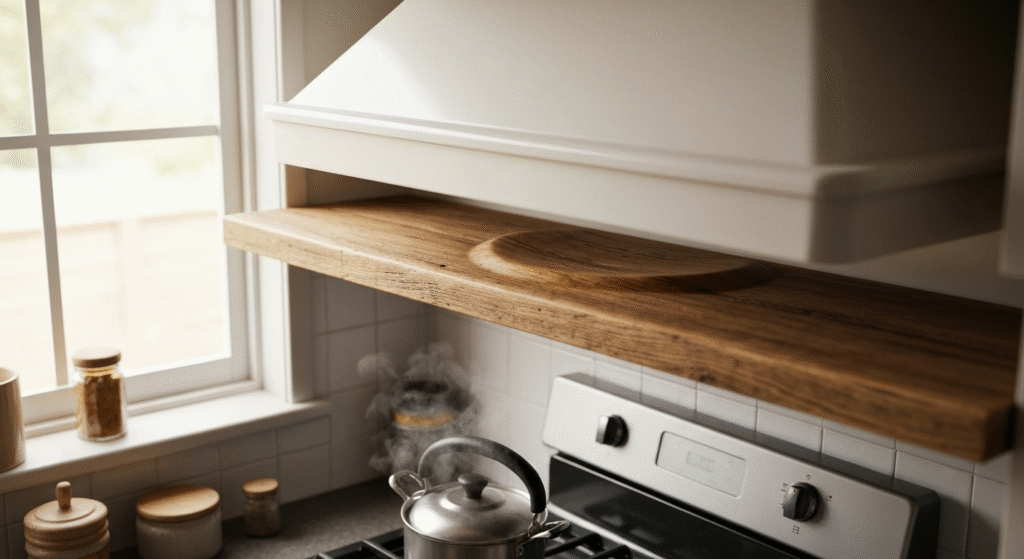
I once worked with a client who installed beautiful, unfinished barn wood shelves above their stove. Within a month, the shelf closest to the stovetop had developed a noticeable cup or curve. The constant steam from cooking was being absorbed by the underside of the shelf, causing it to expand while the top surface remained dry.
The fix was straightforward but essential. We had to take the shelf down, let it dry out completely in another room until it was flat again, and then apply a high-quality, waterproof sealant to all six sides—top, bottom, and all edges. This created a barrier that prevented moisture from penetrating the wood unevenly. It’s a perfect example of why proper finishing isn’t just for looks; it’s a critical step for longevity.
Sealing and Finishing: Protecting Your Shelves for the Long Haul
A proper finish protects your reclaimed wood shelves from stains, moisture, and everyday wear and tear. The right sealant will preserve the wood’s natural character while making it suitable for a busy kitchen.
Choosing the Right Finish: A Comparison
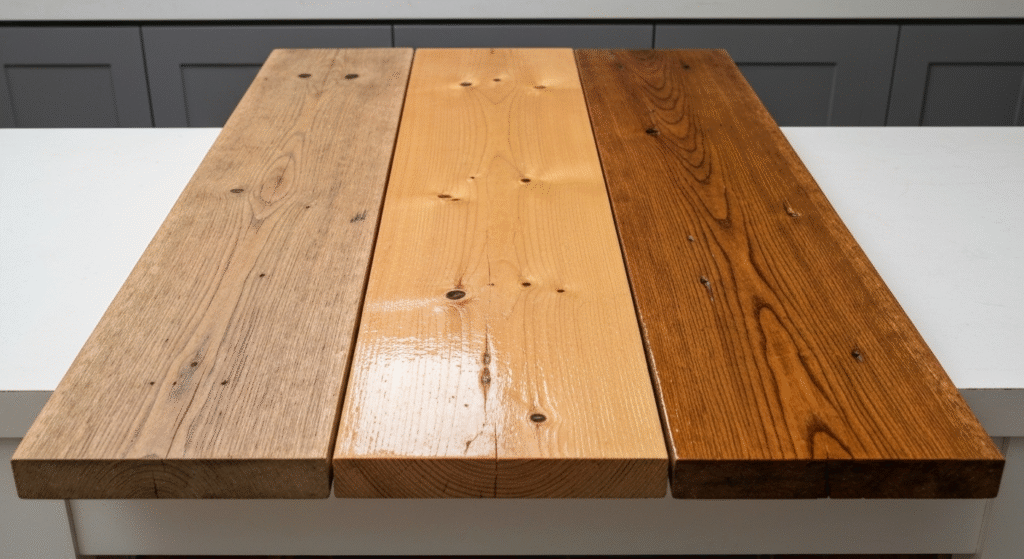
There are many options for sealing wood, each with its own pros and cons. The best choice depends on the look you want and the level of protection you need. In my work, I’ve found these four to be the most reliable for kitchen applications.
| Finish Type | Appearance | Protection Level | Maintenance | Food Safety |
| Polyurethane (Water-Based) | Clear, non-yellowing. Available in matte, satin, or gloss. | Excellent | Low | Food-safe once fully cured. |
| Tung Oil | Enhances natural grain with a warm, amber tint. Matte finish. | Good | Moderate (reapply annually) | Naturally food-safe. |
| Shellac | Adds a warm, amber glow. Can be glossy. | Moderate | Low (can be damaged by alcohol) | Food-safe. |
| Hardwax Oil | Natural, low-sheen finish that enhances wood texture. | Excellent | Moderate (can be spot-repaired) | Food-safe once fully cured. |
For most kitchens, I recommend a water-based polyurethane. It provides a durable, waterproof barrier without drastically changing the wood’s color. For a more natural look, hardwax oil is a fantastic, durable alternative that is easy to repair if it gets scratched.
Step-by-Step Sealing Process
Applying a finish correctly is crucial. Rushing this step can lead to a sticky, uneven surface that fails to protect the wood.
- Clean the Wood: Gently sand the wood with fine-grit sandpaper (around 220-grit) to smooth any rough spots, but not so much that you remove the aged character. Wipe away all dust with a tack cloth or a damp rag.
- Apply the First Coat: Using a high-quality natural-bristle brush, apply a thin, even coat of your chosen sealant. Be sure to cover all surfaces, including the edges and the back that will face the wall. This prevents uneven moisture absorption.
- Let It Dry and Sand Lightly: Follow the manufacturer’s instructions for drying times. Once dry, the wood may feel slightly rough. This is called “raised grain.” Lightly sand it with very fine-grit sandpaper (320-grit) until smooth.
- Apply Subsequent Coats: Wipe away the dust and apply a second coat. For a kitchen environment, I recommend at least three coats for maximum protection. Lightly sand between each coat for the smoothest possible finish.
- Cure Completely: After the final coat, let the shelves cure for the full time recommended by the manufacturer (often several days). This is when the finish hardens to its maximum durability. Do not place any items on the shelves until they are fully cured.
Installation Insights: Tips for a Secure and Level Setup
Even the most beautiful shelves will be a disappointment if they aren’t installed securely. Reclaimed wood can be heavy, so taking the time to mount it properly is essential for safety and stability.
Choosing the Right Brackets
The brackets you choose serve both a functional and an aesthetic purpose. They need to be strong enough to support the weight of the wood and whatever you plan to store on it.
- Floating Shelf Brackets: For a clean, modern look, hidden brackets are a great option. These are heavy-duty metal rods that are mounted to the wall and inserted into holes drilled into the back of the shelf. Ensure they are rated for the weight of your wood.
- Heavy-Duty Metal Brackets: Industrial-style metal brackets that mount under the shelf are very strong and add to the rustic aesthetic. Look for brackets made from solid steel.
- Custom or Wrought Iron Brackets: For a more decorative touch, custom-made brackets can complement the unique character of your reclaimed wood.
As a rule of thumb, the bracket should support at least two-thirds of the shelf’s depth.
Finding Studs and Ensuring Stability
You cannot safely mount heavy shelves using only drywall anchors. You must anchor the brackets directly into the wall studs—the vertical wood beams that frame your walls.
- Locate the Studs: Use a stud finder to locate the studs in the area where you want to hang your shelves. Mark their locations with a pencil.
- Mark Your Bracket Positions: Hold your first bracket against the wall at the desired height, ensuring it aligns with a stud mark. Use a level to make sure it’s perfectly straight before marking the screw holes.
- Position the Second Bracket: Measure the distance to the next stud and mark the position for your second bracket. Use a long level across the top of both brackets to ensure your shelf will be perfectly level.
- Drill Pilot Holes: Drill small pilot holes on your marks. This makes it easier to drive the screws and prevents the stud from splitting.
- Mount the Brackets: Secure the brackets to the wall using screws that are long enough to go through the drywall and at least 1.5 inches into the stud.
- Attach the Shelf: Place your reclaimed wood shelf on top of the brackets and secure it from underneath with smaller screws. This prevents the shelf from sliding or tipping.
Frequently Asked Questions
Is reclaimed wood safe to use in a kitchen?
Yes, as long as it is properly cleaned and sealed. Reputable dealers will ensure the wood is free from lead paint or harmful chemicals. Applying a food-safe finish provides an extra layer of protection.
How do I clean reclaimed wood shelves?
Use a soft, damp cloth with a mild soap and water solution. Avoid harsh chemical cleaners or abrasive sponges, as they can damage the finish and the wood’s patina. Dry the shelves immediately after cleaning.
Can I cut reclaimed wood shelves to size?
Absolutely. Reclaimed wood can be cut just like new wood. Just be aware that it can be very dense and may contain hidden nails, so use a sharp blade and exercise caution. It’s often a good idea to have a professional cut it for you.
Will the color of my reclaimed wood change over time?
Some woods may subtly darken or lighten with exposure to sunlight, but this is usually a slow process. A UV-protective finish, like many modern polyurethanes, can help minimize these changes and preserve the original color.
Conclusion: Embracing History and Sustainability
Integrating reclaimed wood shelves into your kitchen is about more than just adding storage. It’s a conscious decision to choose materials that are sustainable, durable, and full of character. By understanding how to source, seal, and install these pieces of history correctly, you create a space that is not only beautiful and functional but also tells a meaningful story. These shelves will serve as a daily reminder that the best designs are often those that honor the past while building a more sustainable future.

Hi, I’m Edom Clark, the creator and writer behind Taanzo. For the past five years, I’ve been exploring and writing about kitchen storage and home organization. My experience comes from both personal experimentation and hands-on observation — testing different storage systems, materials, and layouts to find what truly works in everyday homes. Over time, I’ve come to appreciate how small adjustments in storage can transform the way we cook, clean, and even enjoy time in the kitchen. Through Taanzo, I aim to share that knowledge in a way that’s honest, approachable, and genuinely useful.
